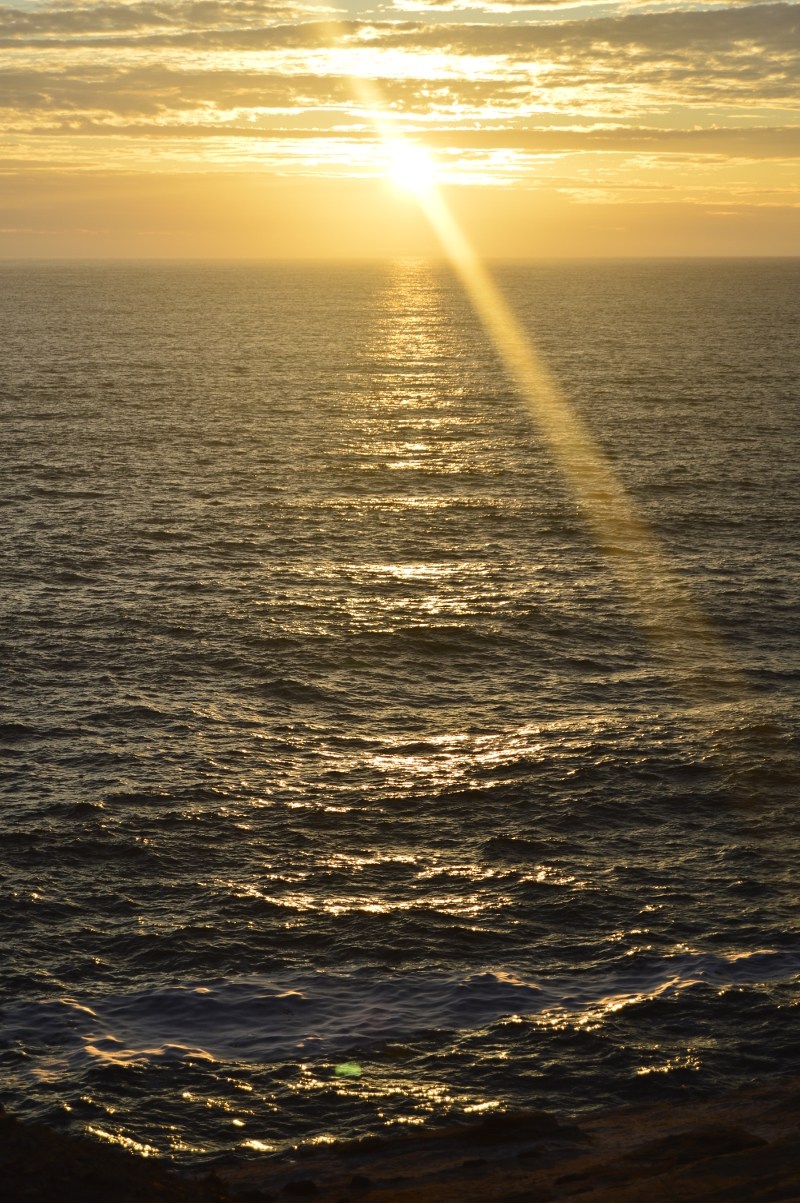
Photography Tips
Photography is a hobby that is easy to start, and easy to get fairly good at, but challenging to perfect.
When taking photos many people don’t bother to compose their photo or don’t know how to. They just point the camera at something they think is interesting and take a snapshot. But there are many ways that you can make your photos better. A good photographer is doing much more! Below are some of the things to keep in mind as you perfect your skills.
Composition
It is a lot of work to crop photos in Photoshop. Well maybe not too much work but why go to the bother of finding a computer, opening a photo in Photoshop, carefully dragging your crop box to the size you want, saving the image, and dealing with multiple versions of the image forever. Instead you can accomplish most desired crops by changing your camera angle slightly or taking a few steps in one direction or another while shooting. Besides you get more exercise that way. Admittedly, there are occasional times when it is quite hard to get your camera close enough to the subject to take the photo you want uncropped. But this is the exception.
Some things to consider include:
- Foregrounds: is there something distracting in the grass in front of you that you could step beyond or remove?
- Backgrounds: What trees, telephone poles, ugly weeds, pieces of junk, bright patches of sunlight, or other annoying objects are hanging out behind the scenes. It’s natural photo-bombing. It is especially important when photographing people to avoid trees and poles growing out of their head. It’s just not flattering. Typically you will want smooth backgrounds to make your subject stand out. Other ways to fix problematic backgrounds include:
- Changing your angle
- Using a wide aperture to narrow the depth of focus
- Getting close to your subject and as far away from the background as possible
- Throwing more light on the subject and choosing a dark background
- Avoiding sharp edges in your background
- Another way to enhance you composition is by using the rule of thirds. To do this place points of interest 1/3 or 2/3 of the way across the photo and 1/3 or 2/3 of the way down. This will give a more pleasing sense of balance to the photo than if the object is placed right in the middle. The exception is with portraits where you do want the subject right in the middle.
- With many subjects you want to fill the frame. Unless the surroundings are a very important part of the picture make the subject a fairly large part of the picture. You want to keep your photos simple. Don’t let them get filled with random distracting objects.
- Experiment: look for ways in which you can use natural objects to frame your subject, Find ways to incorporate motion into your photo. Try different levels for your camera.
- If you do have lines in the background look for ways to make them lead towards the subject so that your eye naturally travels to the subject.
- Try taking your photos from lots of different angles:
- Above
- Below
- Different sides
- Close up
- Far away
- From inside
- Upside down
- From the same perspective as the subject

Macro Photos:
If you like taking pictures of small things then experiment with macro photography. Some things to consider when the camera gets close to the subject are:
- Make sure the detail is sharp in your images. Blurry images are very common and hard to avoid with macro photography because the depth of field is so small that a slight motion of the camera or object can take the subject out of focus before the photo is taken. Unless you have advanced equipment and can use focus bracketing and focus stacking you just have to be patient and watch your focus carefully. A tripod or other stable object helps a lot.
- Make sure your backgrounds are not distracting. As mentioned above you should keep the background free of distractions or blurry, but again, it is easy to move your camera slightly and have everything change.
- If your camera is a point and shoot, rather than an SLR it is important to use the LCD screen to determine if your composition is correct. At short distances, the relative positions of your viewfinder and the lens can greatly change your composition.
- Try different viewpoints.
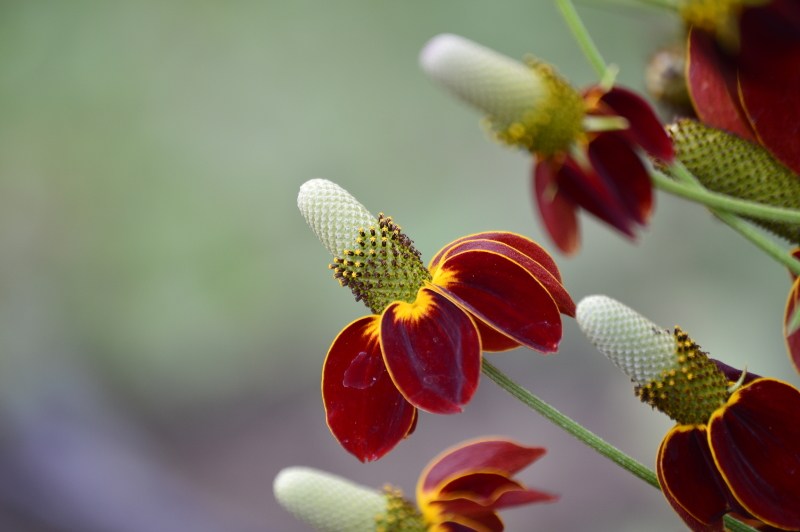
Know your camera
Some of the things you should know how to adjust on your camera include:
- Focus
- Aperture
- Shutter speed
- ISO
- Contrast
- Exposure
You can use the focus to determine what part of the image you want your viewer to look at. They will look where the detail is sharpest.
Your aperture controls the size of the opening that lets the light in. This changes your overall light and your depth of field, blurring or sharpening your backgrounds and foregrounds.
Your shutter speed controls how long the lens is open. This also controls the amount of light in the photo. If you try to take hand-held photos slower than about 1/60 of a second you can get a blur from camera shake.
Your ISO controls how quickly the sensor records light. This also controls the light in the photo. If your ISO is too large you will get a grainy look to your photos.
The light equation is Light=ISO*shutter speed/aperture*aperture. For any given lighting situation you can set light constant and use this equation to vary your other factors. After awhile the way this equation works will become second nature even if you don’t really understand the math behind it.
Camera Types and Equipment:
The two main types of cameras are point and shoot cameras, and Single Lens Reflex (SLR) cameras.
Point and shoot cameras comprise the lower end of the camera market while professionals and serious hobbyists buy the more expensive SLRs
When buying a camera consider several things.
- Zoom. Optical zoom is much better than digital zoom. You can ignore any claims about digital zoom since you can do all the digital zooming you want on the computer anyway.
- Screen Size. You want to be able to see your photos.
- Mega-pixels. 6-8 mega-pixels is fine.
- Image stabilization (IS). Optical is best.
- JPEG and RAW. If you want high quality photos make sure your camera can shoot RAW.
- Storage Media. What size of memory card will it support.
- Batteries. Make sure its batteries will last a long time.
- Frames per second (FPS) if you will do a lot of action work see how quickly it can take photos. 4FPS is pretty good.
- White Balance settings. Can you adjust the white balance prior to taking photos?
- Overall I recommend either Canon or Nikon cameras.
Other tools that you might need include:
- A tripod: Look for sturdy, light, and easy to put up and take down.
- Flash: An external flash can help in some situations.
- Remote: If you do a lot of portrait or night photography this can help
- Backgrounds and spritzer bottle. If you like macro photography carrying your own background with you can be handy and you can add dew to leaves with a spritzer bottle filled with water. A reflector can also help add some light.
Shot in RAW with Nikon D3200 at 1/13 sec, F5.6, ISO 100
Lighting:
- Photography is all about capturing light. The essence of a photo is a depiction of light. As a result what light you have in your image is one of the most important and neglected aspects of photography.
- Types of Light include:
- Front lighting
- Flash lighting
- Back lighting
- Silhouette
- Side lighting
- Top lighting
- Direct lighting
- Diffused lighting
- Ambient lighting
- Colored lighting
- Sometimes if your photo is just not turning out it may be that a change of lighting will help.
- If you can’t change the position of the light, try turning the subject and camera in relation to the light.
- Look for low angle sunlight between ten minutes before dawn to an hour after, or an hour before sunset to ten minutes after.
- Avoid mixed sun and shade. This tends to create a confusing dappled effect on your subject that you generally don’t want.
- Avoid noon light. It generally has a harsh appearance that doesn’t make for very good photos.
- Consider nighttime photography. Use long exposures to take advantage of the light you have or paint light onto your scene with a flashlight.
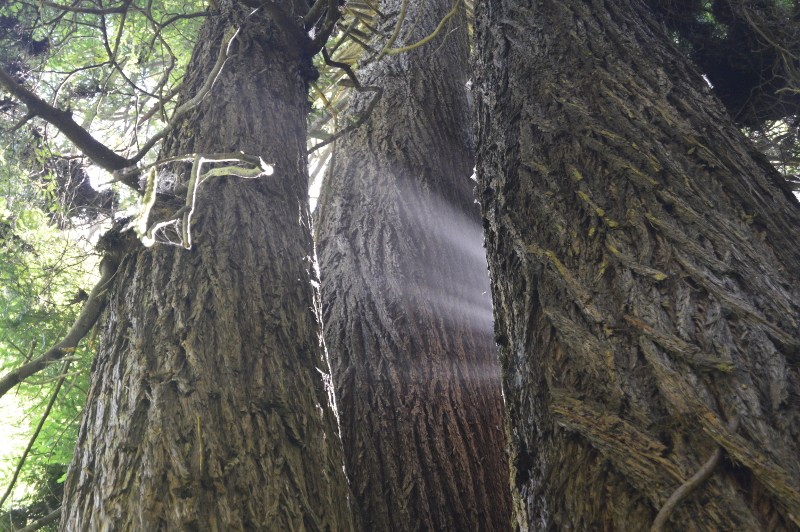
Sunlight streaming through redwoods
Editing:
- So now you have taken a lot of photos and you are picking out the best on your computer. View them as large as possible so you don’t miss details that might be annoying when they are printed.
- Look for camera shake in your photos.
- Make sure that the focus is on the subject you want it to be on.
- See if the subject moved unintentionally while you were photographing.
- Check your exposure to make sure that the contrast and coloration is correct.
- If you did your work right with the camera there shouldn’t be as much work on the editing end.
- Note anything you did wrong and make sure you try to correct it next time you take photos.
- Have fun. Play around with Photoshop or Gimp and add some special effects.
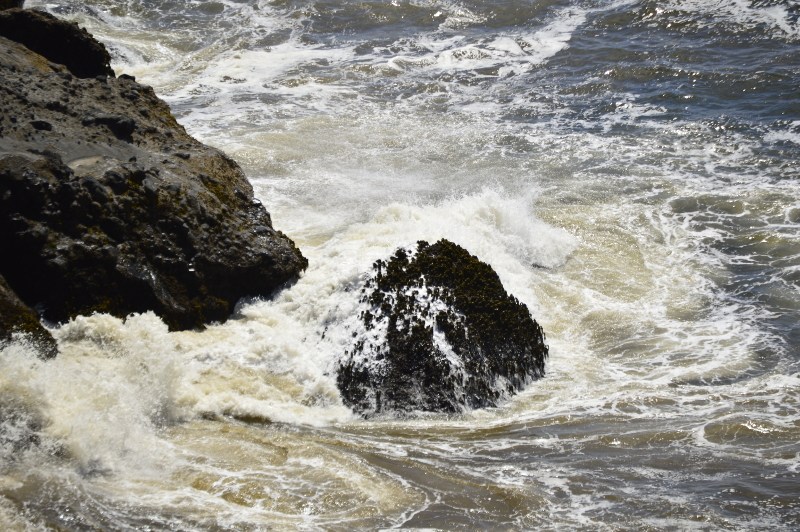
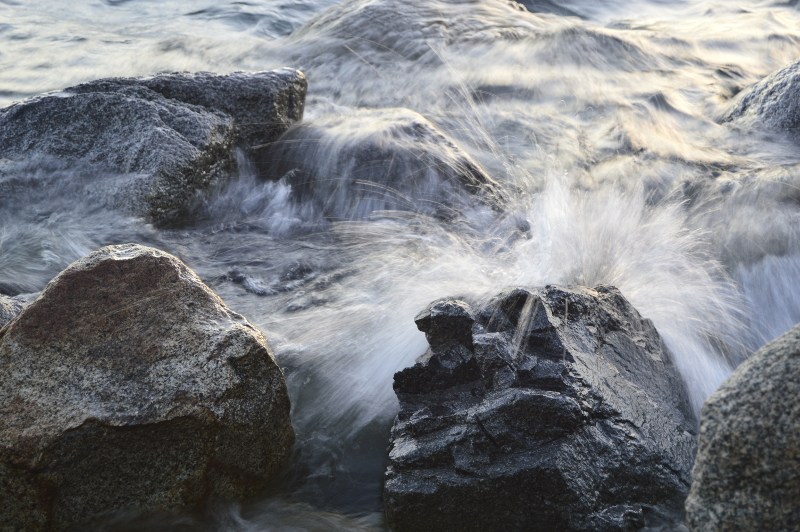
Water against rocks
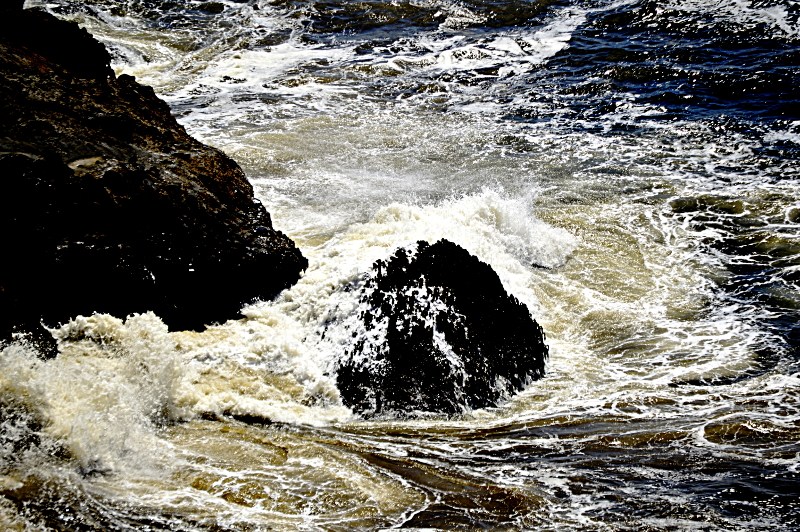
Increased contrast and sharpened image
Practice:
- Now that you know what to do, Practice!
- Take lots of photos.
- Try new things.
- Discuss your photos with other photographers.
- Look at other people’s photos.
- Try to think about a scene like a photographer.
- Explore some of the more advanced areas of photography like Exposure bracketing, HDR photos, panoramas, tilt-shift lenses, computer manipulated photos, and other special effects.
- Select an object and take it in as many ways as possible just for practice.
- Have your camera ready.
- Find creative ways to use your artwork.
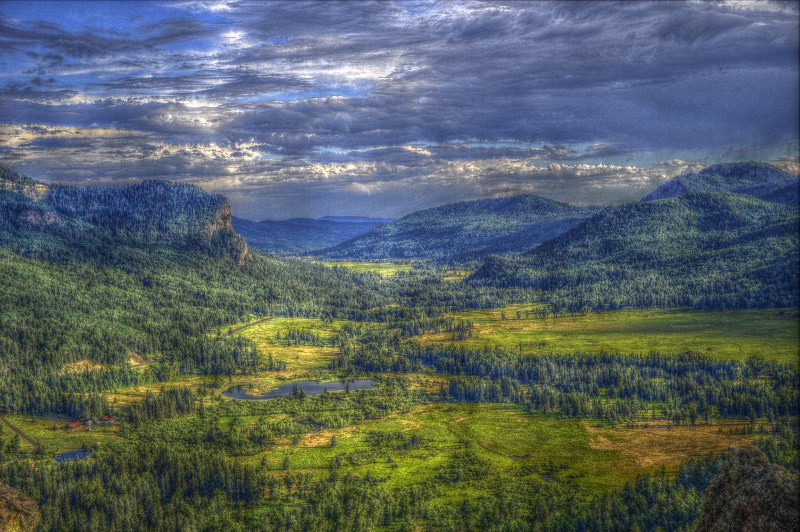
HDR of Colorado Valley
The rules I have listed are not ironclad. Think of them more like suggestions. Try breaking them for special effects. Be creative and do things that other photographers aren’t doing. Just don’t break the rules too much. The reason they are rules is because they often result in great photos.
Most importantly: Have fun! 🙂
